
What are cut settings (feeds and speeds)?
Cut settings dictate to how your machine moves when it carves out a project. There are a few basic feeds and speeds terms to know:
 Feed Rate
Feed rate is the linear speed at which the cutting tool or workpiece travels while the spindle is spinning. In other words, it’s how quickly the cutter is pushed through the material. A higher feed rate means the tool removes more material per second, creating thicker chips; a lower feed rate removes less and produces thinner chips. Setting it correctly is vital: too slow and the cutter rubs, dulls, and overheats; too fast and it can chatter, break tools, or overload the machine. The best feed rate pairs with the chosen spindle speed so each cutting edge slices off a clean, consistent chip without stressing the tool or the machine.
Feed rate does not impact your z-axis. Z-axis movements are determined by plunge rate (inches) and depth per pass.
If you’re interested, you can learn more about Easel’s feed rate override feature.
Depth Per Pass
Depth per pass (sometimes referred to as depth per cut) is how deeply your bit goes into your material every time it starts a new toolpath. Depth per pass is commonly measured in inches or millimeters.
For example, a depth per pass of .125” means that your bit will carve .125” deep each time it starts a new tool path. If you are clearing a pocket that is 1” deep, your machine will make a total of 8 passes:
(1” total depth) / (.125” per pass) = 8 total passes
As a general rule, we do not recommend using a depth per pass that is greater than half the cutting diameter of your bit. This means that if you are using a bit with a 1/4” cutting diameter, your depth per pass should be no greater than 1/8”; for a bit with a 1/8” cutting diameter, your depth per pass should not exceed .0625”; etc. This guideline represents the maximum depth per pass for a bit size: most depth per pass settings are much more conservative than these values.

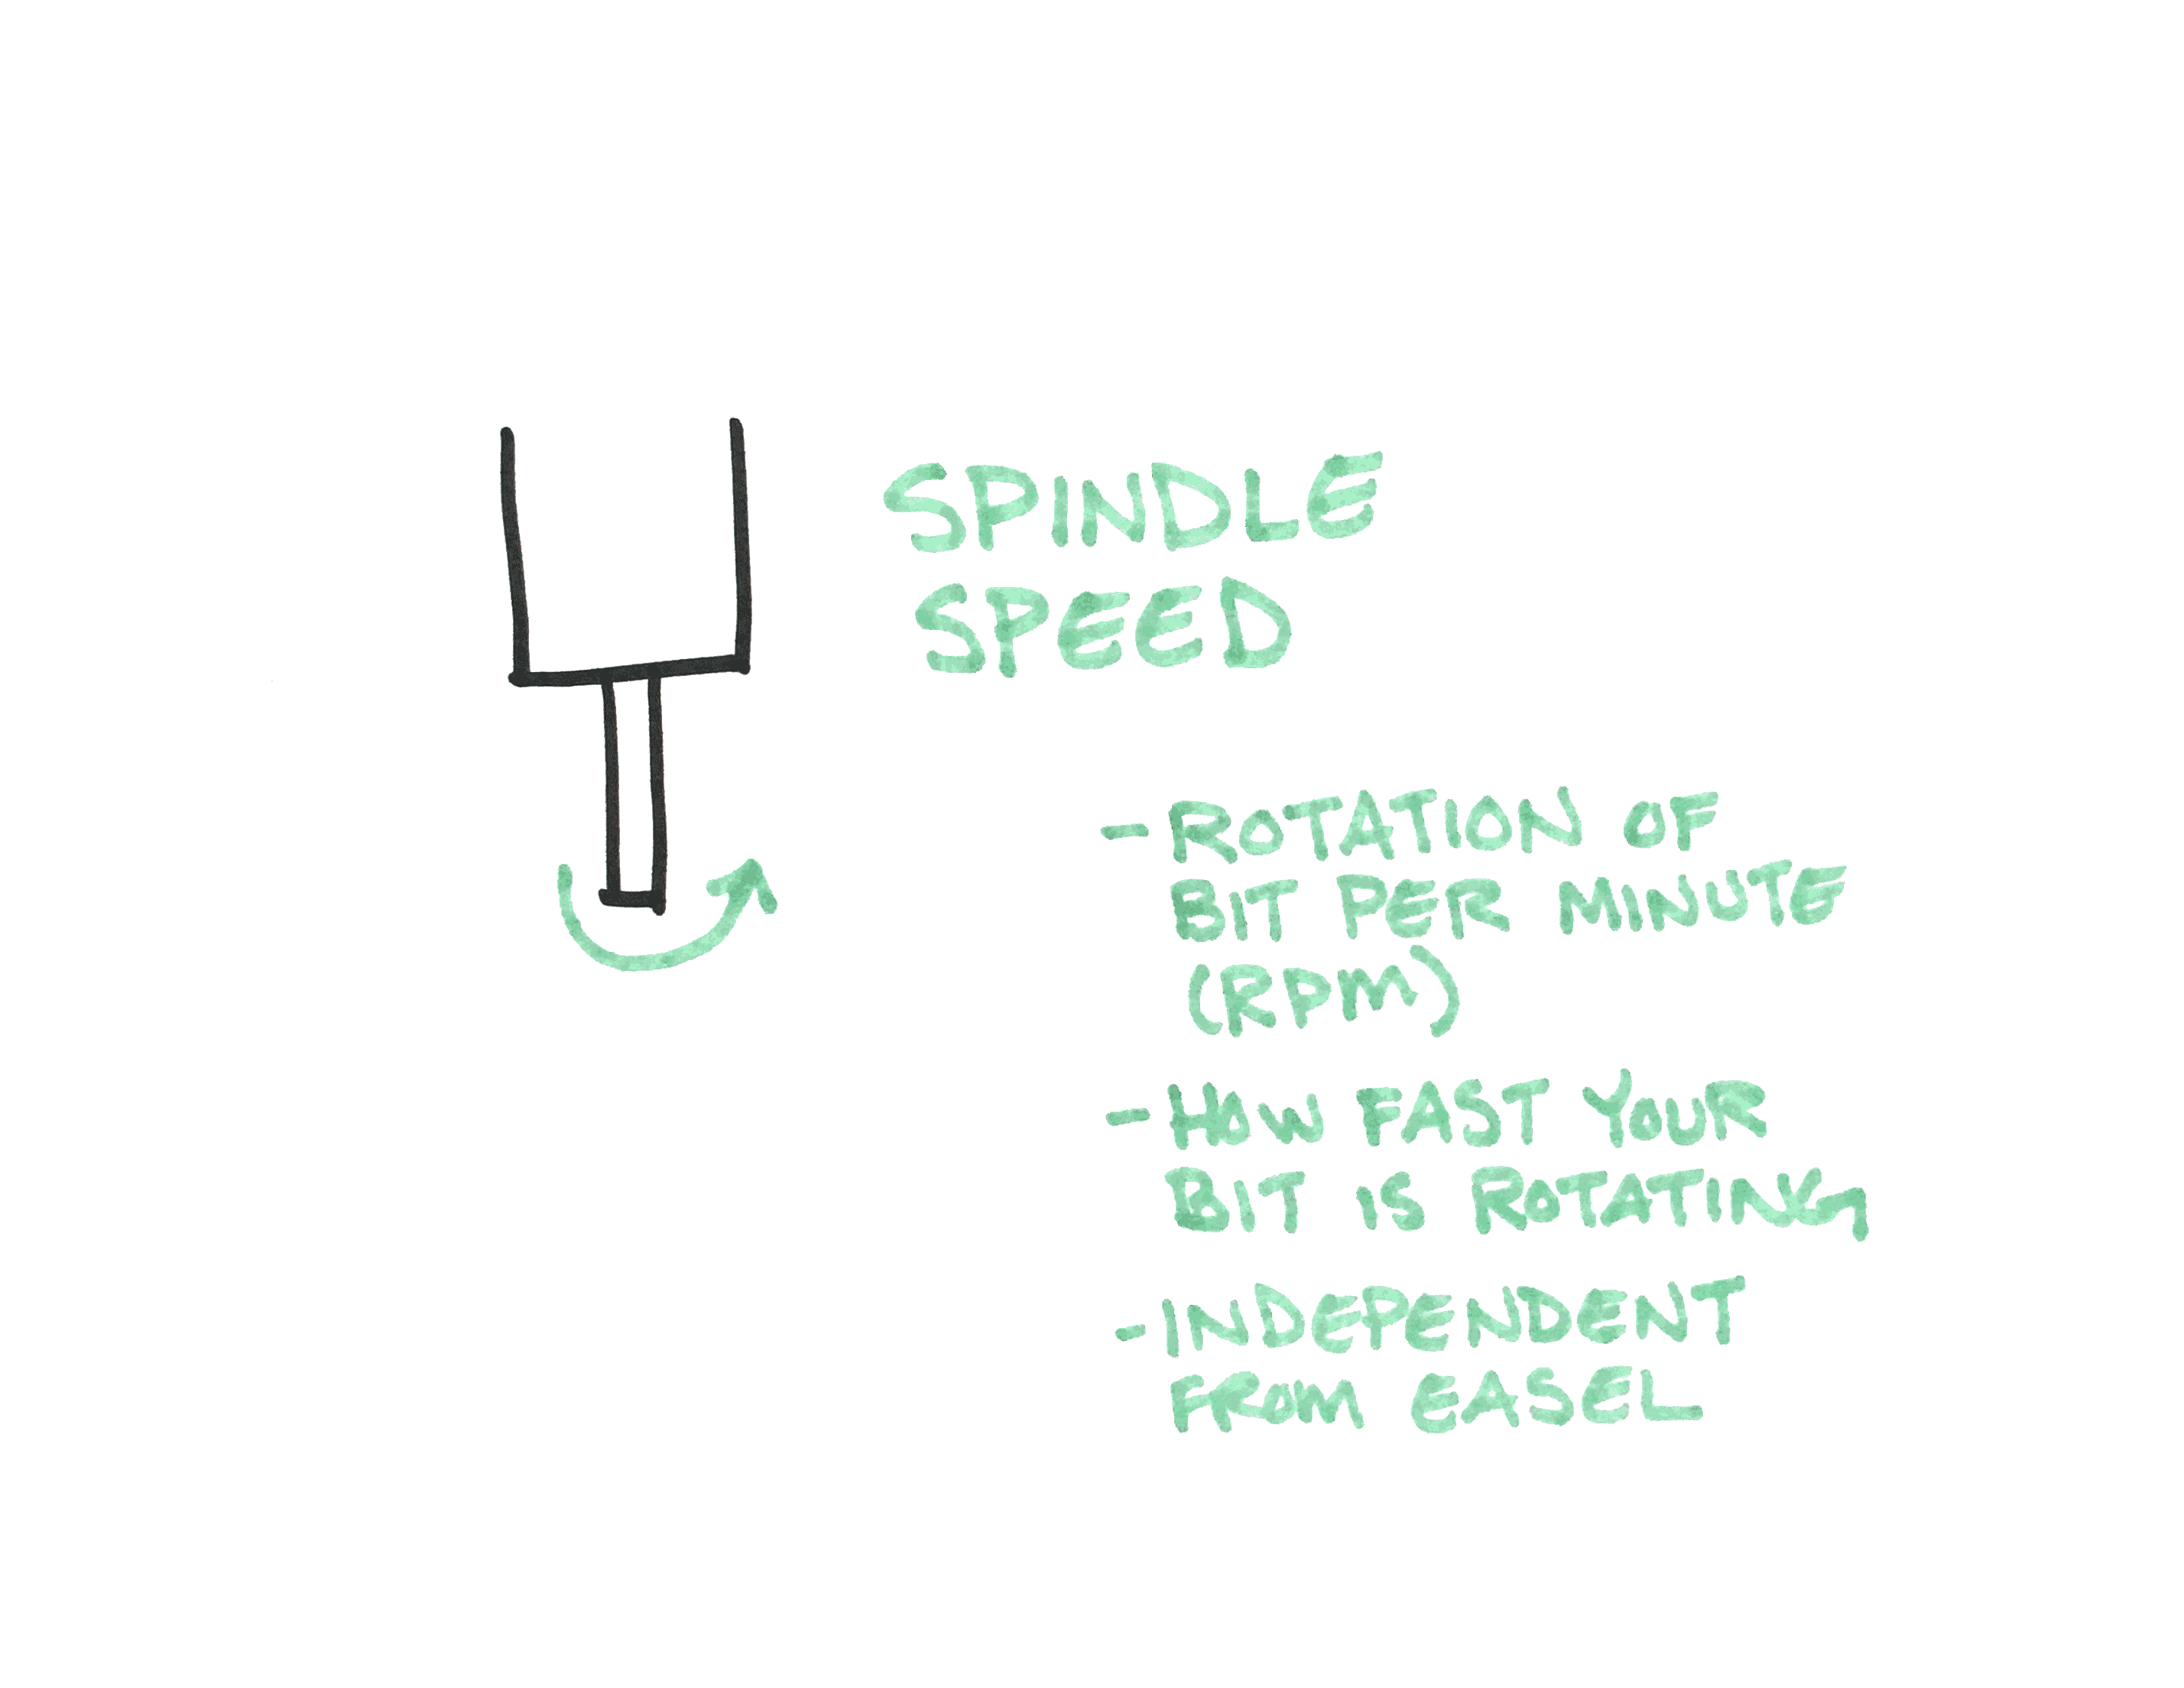
Spindle Speed
Spindle speed is simply how fast the cutting tool is spinning. Together with the rate at which the tool moves through the material (the feed rate), it controls the size of each chip the cutter peels off, how hot things get, how smooth the surface looks, and how long the tool lasts. Turn the spindle too slowly and the cutter rubs instead of cuts; turn it too fast and it overheats or the whole machine may start to vibrate. The ideal setting is the “sweet spot” where chips come off cleanly and the machine stays stable.
Chip Load
Chip load is the amount of material removed by each flute (or tooth) on the bit. This is commonly measured in feed per tooth.
Larger chips will remove heat from near the cutting area quicker. Removing large chips is useful on materials where melting is a factor, such as acrylics, plastics, and metals. If your chips are too large, you risk breaking your bit because there is too much stress on the tool.
Smaller chips are easier for your machine to remove, meaning there is less stress on your bit when carving. Be careful you aren’t producing chips that are too small: the material’s chips should land on the materials’ surface or wasteboard, not float in the air like dust.
If your chips are too small, you will cause "rubbing" (also called "burnishing"). This is caused when the flutes of the bit cannot adequately remove your material and end up just rubbing against it. Additionally, heat is not being adequately removed from your bit if the chips are too small. The combination of these two scenarios means you will prematurely dull your bits and need to replace them.
What factors impact cut settings?
There are a number of factors that contribute to your cut settings for a given project.
Size and Type of Bit
The bits available in Easel’s Bit Selection menu include cut settings for several commonly used bits. Whether you're using a single bit or performing a two-stage carve, Easel provides recommended cut settings based on your selected machine and material. If you're unsure of the correct settings for your bit, we recommend starting with Easel’s suggested values.
If your bit is not listed in the Bit Selection menu and you know the correct cut settings, you can manually enter custom values. In many cases, the best source for a bit’s cut settings is the bit manufacturer, who can provide specifications such as feed rate, depth per pass, and spindle speed for different materials.
When possible, product codes provided in the technical specifications can be used to look up the manufacturer's recommended settings directly.
Keep in mind that bits with smaller cutting diameters—such as engraving bits or those under 1/8"—require more conservative settings to avoid damaging the bit. The delicate tips of these tools can break easily under aggressive carving conditions.
Hardness of material
Cut settings are also determined by your material. Different materials have different carving qualities and hardnesses. Easel’s recommended cut settings update when you select a new material from Easel’s material drop-down menu.
If your material isn’t listed in the Material drop-down menu in Easel, select a material with similar hardness qualities. You can reference a chart like this one for wood hardnesses. Feed rate override allows you to make adjustments to the machine’s speed once you’re carving, but using a comparable hardness for your material selection can help you get started.
Project Design Detail and Desired Accuracy
Generally speaking, conservative feed rates are recommended for projects with intricate details. Slowing down your machine’s feed rate can help maintain toolpath accuracy, hence minimizing material tearout on the edge of the carving path.
How do I calculate the right cut settings for my bit?
The best place to get information about cut settings for a given bit is from the bit manufacturer. This is the quickest and easiest way to obtain this information for a bit. However, it may not always be possible to obtain this information from your bit’s manufacturer. In this case, you can use the following equation:
Feed Rate = Spindle Speed (RPM) x Chip Load x Number of flutes
When calculating plunge rate, it is recommended to use a chip load that is 30-50% of you feedrate chipload.
Plunge Rate= Chip Load × Number of Flutes × Spindle Speed (RPM)
You can manipulate this equation to calculate for unknown variables, if necessary. For example:
Chip Load = Feed Rate / (Spindle Speed * Number of Flutes)
| Helpful Tip: You should also consider the hardness of your material and the intricacy of your design. Remember cut settings are specific to the project, material, and bit combination. We highly recommend running tests before committing to cut settings on final projects. |
Chipload will vary but for the most part between .003" and .005" are good inputs to use if you do not know your bits' chipload. Most milling bit manufacturers will have this listed in their product documentation. This is also a great resource on understanding milling bits: https://www.mscdirect.com/basicsof/end-mills
CNC Machine Rigidity
Another important factor that affects cut settings is the rigidity of your CNC machine. A rigid machine is better able to resist deflection and vibration during cutting, which means it can handle faster feed rates, deeper depths of cut, and higher step over percentages. In contrast, less rigid machines such as hobby-grade routers or machines that have spindles which do not maintain torque as spindle rotation is reduced require a smaller volume of material to be removed as the machine is cutting. Lower material removal rates help to avoid issues like chatter, poor surface finish, or tool breakage.
If your machine setup is not very rigid, we advise you to use the spindle speed and feed rate as calculated by the formula above but decrease your depth per pass to maintain stability. The reason for this is you want to remove material at the same rate to prevent excess heat from the tool rubbing, however you need to do it with less force. By reducing the depth per pass you maintain the tool speed but reduce the forces by removing less material. Understanding your machine’s rigidity and your spindle torque and adjusting your depth per pass accordingly ensures safer, smoother carves and extends the life of your tools.
Troubleshooting
Quick Adjustment Guide
| If You See This… | Likely Cause | Adjust This… | Why It Works |
|---|---|---|---|
| Dust or powder instead of chips | Feed rate too low, RPM too high (rubbing not cutting) | ➕ Increase Feed Rate ➖ Reduce RPM |
Increases chip load so the tool actually cuts, not polishes. |
| Long, stringy chips | Feed rate too high or poor chip evacuation | ➖ Reduce Feed Rate ➕ Improve chip clearance (air blast, upcut bit) |
Prevents overheating and tool stress. |
| Burn marks or smoke | RPM too high or feed too low | ➖ Lower RPM ➕ Increase Feed Rate Improve cooling |
Reduces heat buildup and rubbing. |
| Bit breaks or dulls quickly | Feed too fast, depth too deep, poor rigidity | ➖ Reduce Feed Rate ➖ Reduce Depth of Cut Check tool sharpness and clamping |
Lowers tool load and vibration. |
| Chatter or vibration sounds | Tool deflection, workpiece loose, wrong speed/feed ratio | ➖ Reduce Depth/Step-over ➕ Increase Feed Slightly Secure workpiece, shorten tool stick-out |
Stabilizes cutting forces and harmonics. |
| Tear-out or fuzzy edges (wood) | Wrong cutter type or direction | Use Down-Cut or Compression Bit ➕ Increase RPM Slightly |
Shears fibers cleanly instead of pulling them. |
| Dull, gray, or discolored chips (metal) | Excessive heat or dull tool | ➖ Reduce RPM ➕ Apply coolant Replace or resharpen bit |
Keeps temperature in proper range. |
| Tool leaves ridges or poor finish | Feed too high, tool deflecting, or worn bit | ➖ Reduce Feed Rate ➖ Reduce Step-over Check runout or replace tool |
Ensures smoother passes and tighter tolerance. |
| Squealing or whining sound | Too high RPM or rubbing | ➖ Lower RPM ➕ Increase Feed Rate |
Brings chip load into optimal range, reducing friction. |
If your cut settings are not optimal or calculated properly, you may see issues with your carves such as:
- Bit gets stuck or the spindle stalls and causes offsets
- Rough carves that require a lot of processing
- Excessive wear on bits or bits breaking
- Long carves
- Impacted material
- Improper clamping
- Dull bits
The ideal cut settings should produce chips, not dust. You'll also need to ensure the bit is not removing more material than it can handle.